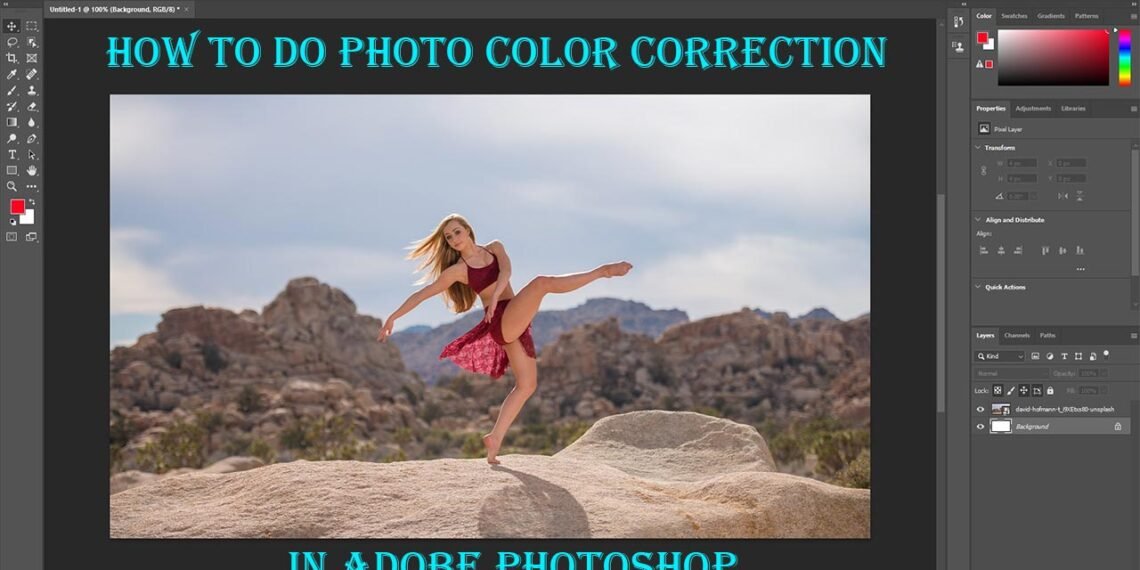
Nowadays, some people usually take sunset images with pals to relive the memory. On the next day’s photos, the sunset isn’t as lovely. Now, it’s the perfect time to use Photoshop’s tool to do photo color correction efficiently.
Anyone can easily do image color correction by applying the 5 easiest steps. Try to find out the opposite color you wish to remove color casts from any photo. We’ll paint light on dark areas and modify the layers to correct the photo’s color for the final step.
To explore the 5 simple stages of photoshop color correction, start reading now. Good Luck!!
How To Adjust Photo Color Correction In Photoshop [5 Stages]
If you have time & strong patience, you can quickly learn how to do image color correction in photoshop by using 5 simple steps. Let’s get started!!
Stage#1. The Levels:
The ‘Levels’ options are like ‘curves’ with some variations. The main sliders include shadows on the mid and left tones in the center. The 3rd is the highlight switches which are on the right. Moving the sliders left-area can easily brighten your photo, and moving it right-area will darken it.
The ‘Levels’ immediately apply any slider movement that can affect your entire photo. But you can select a particular color model, like the ‘RGB.’ Here, the RGB color zone can be examined from the drop-down menu of the “levels” tab. The shortcut keystroke is ‘command + L’ {For Mac}.
The RGB color system lets you create more precise modifications to your image’s color tone, the green, red or blue channels, by applying brightening or darkening effects on their main values.
Stage#2. The Curves:
Indisputably Photoshop’s finest color correction device is the ‘Curves.’ Somewhat some complex design often discourages the consumers.
The ‘Levels’ more appealing look makes it feel like the right alternative to the ‘Curves.’ The Curve is more efficient than the ‘Levels.’ The more time you will invest in learning & mastering how to apply it for your image color corrections, the more you can polish your photos.
Adobe Photoshop’s ‘Curves’ are flexible, powerful, and easy to use once you get the tricks. Curves’ distinguishing feature lies in its more specialized operation than the ‘levels.’
To generate a position in Curve, all you have to do is click on any portion of the axis & drag it in a particular direction. Then, pulling towards your upper-left corner can enhance the photo’s appearance, while pulling in the opposing direction may generate dimming effects.
The central line equidistant from both points indicates your mid-tones, including the top highlights, the top left corner, and the shadows. Hence, I’m shortly illustrating how you can easily create a curve. Have a quick look at below:
- Firstly, locate the mid-point of the axis and then draw a line.
- Next, make two more lines. Try to create one on every midway side with a standard spacing of about a grid away from the mid-point.
- Finally, drag the lowest spot into the ‘Shadow Region’ and the utmost into the “Highlights.”
Try snooping into your Photoshop styles if you may find this ‘curve procedure’ complex. The ‘Presets’ within the ‘Curves’ window offer various “curves settings” similar to what I’ve just discussed.
Stage#3. The Color-Balance:
Although the curves are more suited for most image color correction needs, you can try experimenting with the color-balance device to have an impression of what you may gain with it.
Not as adaptable as the ‘Curves and Levels,’ the Color-Balance can easily enable you to accomplish minor or simple modifications to your images. Similarly, the color strokes allow creative color image editing for basic tasks.
Some photos are captured in low brightness and often look unappealing. Select the ‘Highlights’ Radio switch that gives you entry to the pivots. With the red-looking for the photo, adjusting the knobs towards ‘blue’ & ‘cyan’ while observing the corresponding effect can give you more impartiality. And color balance simultaneously.
The Color-Balance can also create impressive color explosion effects by emphasizing many colors in mid-tones, highlights, and shadows.
Stage#4. The Auto-Tone:
Sometimes, you may let your Photoshop’s ‘auto-pilot’ mode get the task done for you. While you don’t need to depend on Photoshop’s auto-tone tool, there are some situations where you may let Photoshop give you the maximum tone-and-color recommendation for your photos.
But it can be best if you don’t always rely on the ‘auto-tone.’ Though it may be a useful & time-saving instrument that does a superb job, it sometimes misses, in which case you may effortlessly undo undesirable effects.
Stage#5. The Plugins:
In this stage, image color correction can be a simple, captivating, and stunning experience on Photoshop when applying the best plugins. For Example- The Skylum Creative Kit 2016 offers a spontaneous, highly effective, and fun approach to producing fantastic photo editing outcomes.
The Kit incorporates 6 award-winning Mac-special apps, namely Tonality, Focus, Noiseless, and FX Photo Studio; all work as independent & plugins, add-ons or extensions to applications like Adobe Photoshop, Lightroom, etc. Accomplishing excellent image correction can be a remarkable experience with the help of Adobe Photoshop.
Final Words: [Photo Color Correction]
In summary, photography markets are constantly demanding. We all know that photo editing can make stock photos look more intriguing. It enhances the aesthetic appeal of goods using high-quality images.
However, making money from photo editing can be tricky. For personal depiction, portraits benefit from photo modification. For e-business, online product promotion also plays a crucial role. You can professionally design your website by learning photo editing.
Be dynamic to learn photo color correction in Photoshop!! Be Happy!


